This post will describe the update process for the HP G10 platform. All G10 servers can be updated using this process. Keep in mind even though the process might be the same, individual BIOS and update packages might differ depending on the server. For example, the HP DL-360 and the HP DL-380 use different BIOS files.
There are 2 ways you can update an HP G10 server.
- The traditional method is to use what HP calls a service pack. This service pack contains not only fully updated firmware for the BIOS and iLO, but also updated firmware for other devices like RAID controllers, network cards, etc. The service pack comes in an ISO format. It can be booted from a USB or can be mounted through the virtual KVM inside the iLO.
- The other method is logging into the iLO and updating individual components directly. Often times you either have an outdated service pack, or no service pack at all, and can use this method instead. Try to find a service pack if you can.. In the absence of a service pack proceed to update the BIOS and iLO as individual components. HP requires a service account to download service packs so you don’t always have immediate access. Such restrictions are not applied to individual updates.
Mounting the service pack ISO over virtual KVM
To mount the ISO you must first login to the iLO. To login to the iLO simply note the IP address displayed at boot time:
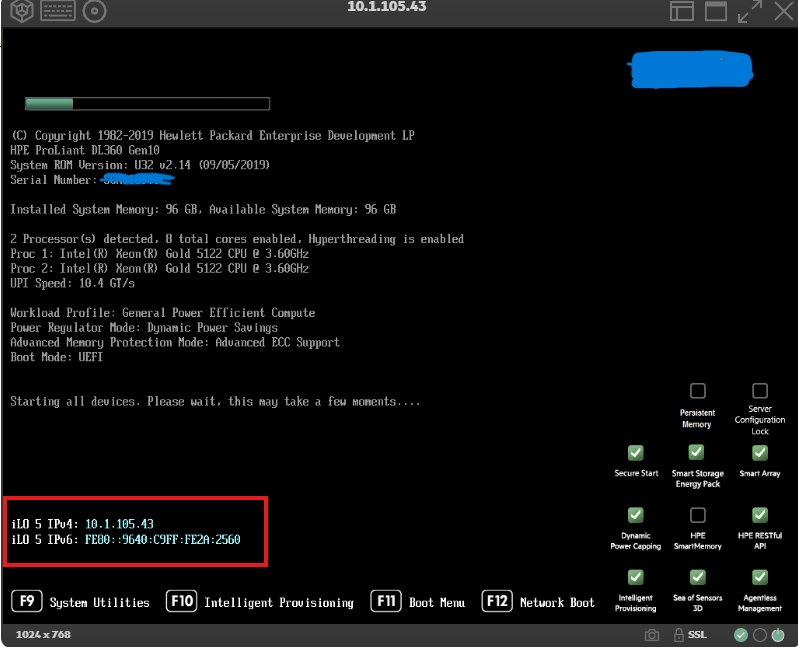
If no IP address is displayed please ensure your iLO interface has an ethernet cable attached. If an address outside of your network is displayed this usually means a static address has been configured and the iLO should be reset. Reset the iLO to default settings.
Take this IP address and type it into your browser. You will be greeted with a login prompt:
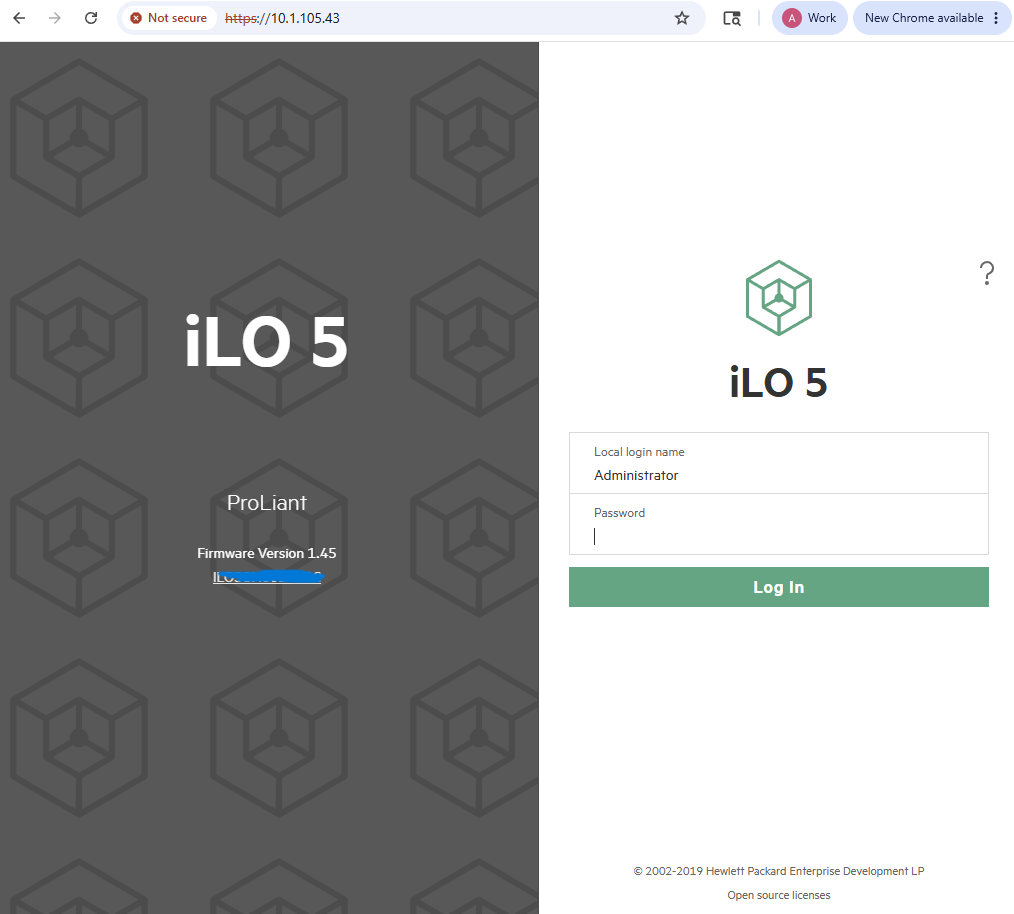
Login: Administrator
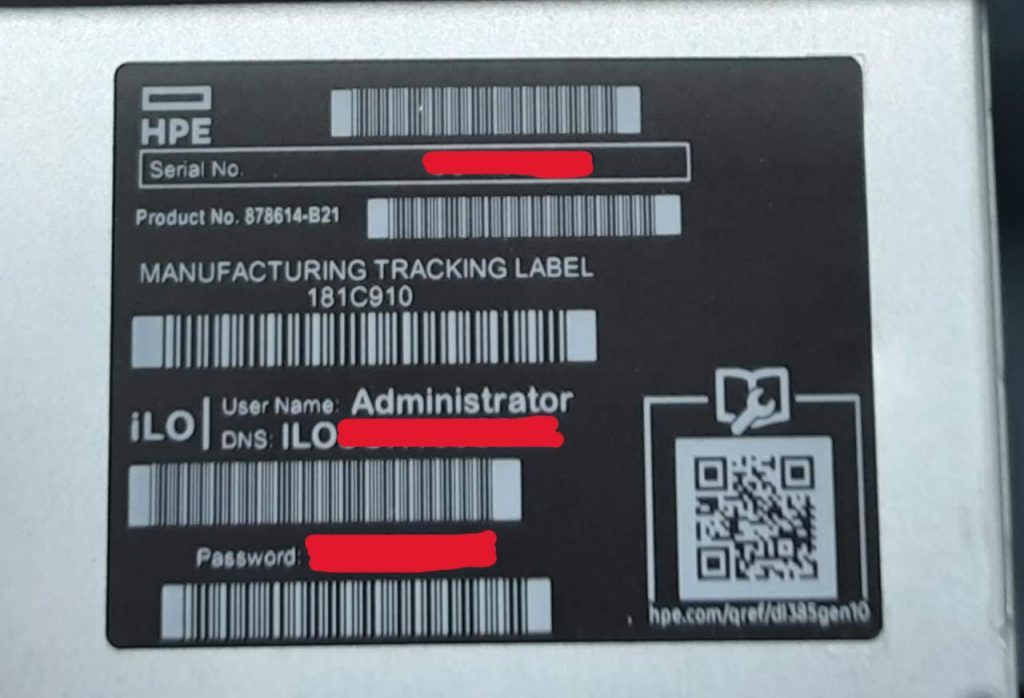
Password: (See sticker located on top of server)
If you are unable to login with the default credentials this is another sign that the iLO needs to be reset. Once logged in you will notice a thumbnail of the server screen in the lower left corner of the window. This is the virtual console:
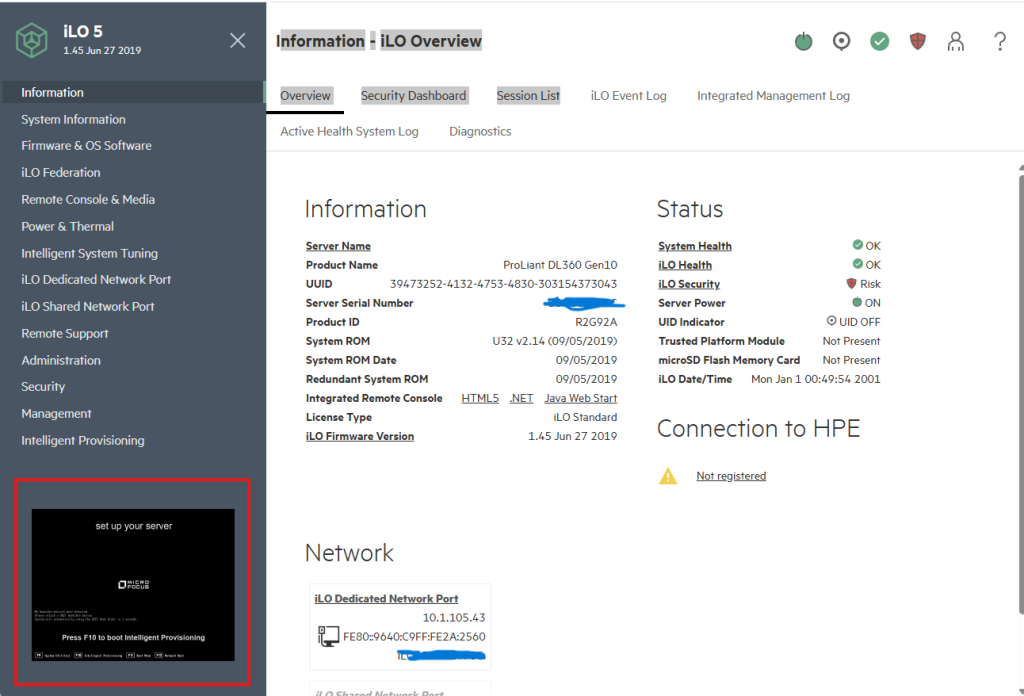
Click the thumbnail and then select HTML 5 console to launch the virtual KVM.
You will now see the active video output of your server. From here click the little icon that looks like a CD, then click CD/DVD, then click Local *.iso file.
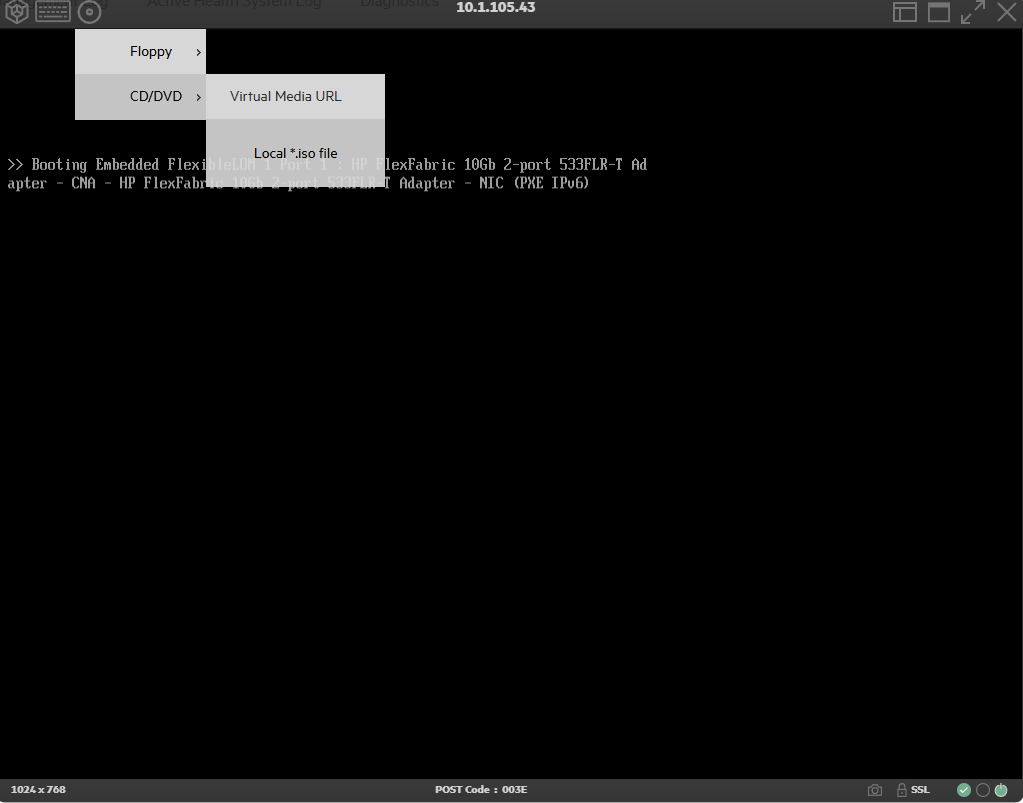
Now simply browse to the service pack to mount and begin the boot process.
Once attached, the server will attempt to boot from the ISO during the boot cycle. Wait a few moments for the server to cycle through the boot order. This is the screen you want to see:

There is nothing more to do at this point other than wait for the update process to complete. The system may restart several times. Once completed you should verify the installation by making note of the current BIOS version. The current BIOS version is displayed at boot time and both the BIOS and iLO versions can be found in the iLO as well.
Updating individual components
As mentioned, in absence of a service pack components can be updated individually. The 2 most important items we must update are the BIOS and the iLO firmware.
Let’s start with the BIOS. First, login to the iLO as described previously in this document and then navigate to Firmware & OS Software. Then click Update Firmware:
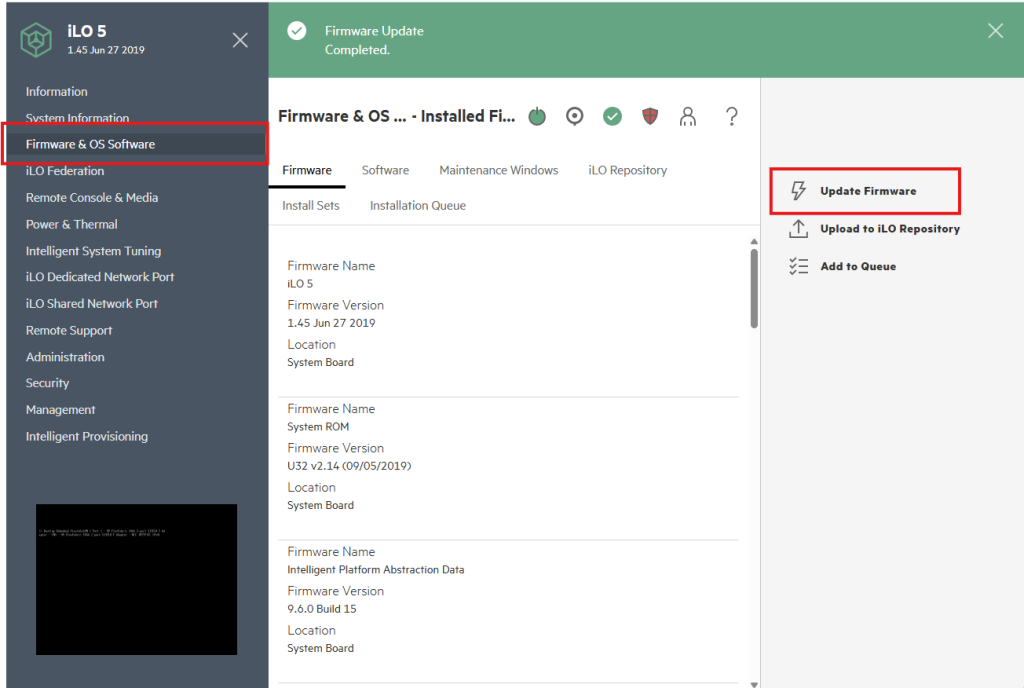
The following window appears:
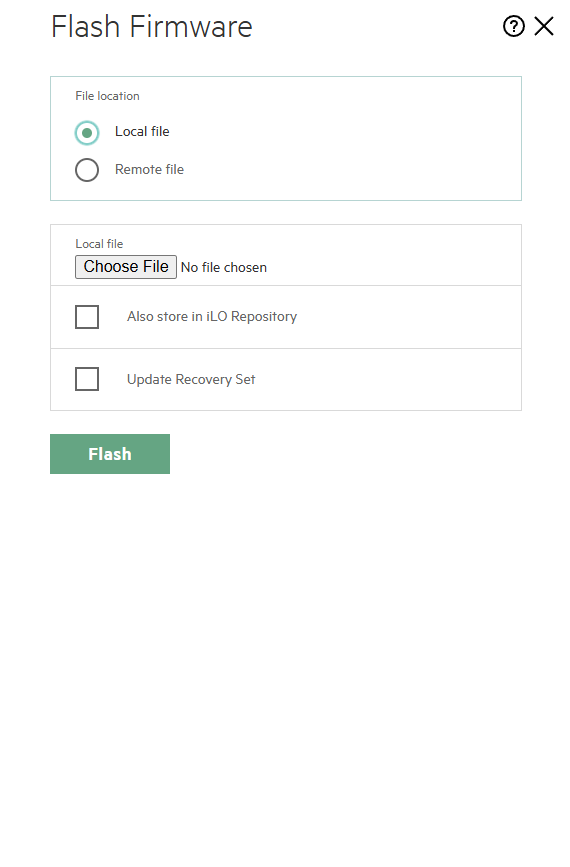
Select choose file and then attach the firmware package for the BIOS. The latest firmware can be obtained directly from HP. The correct file will have a .FLASH extension or a .FWPKG extension depending on the server.
You will see a progress bar indicating that the file is being uploaded. If accepted, the firmware will install.
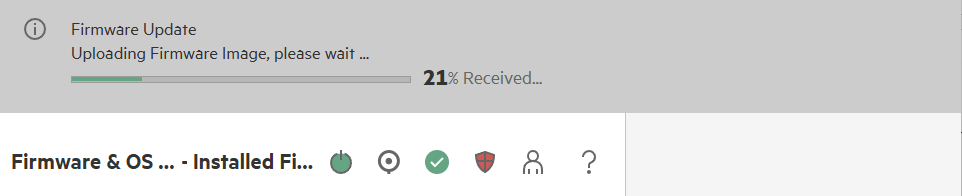
Flashing firmware means the file was accepted and the update process has started.

After each update it may be necessary to power cycle the server. You can do this simply by manually turning the server on or off, or rebooting the system inside of the iLO.
Repeat this process for the other individual components.
Leave a Reply